![]() |
| Known and loved this man for a lifetime |
Thursday, 31 March 2016
Tuesday, 29 March 2016
Kids' Arts & Crafts: Creative Card Making
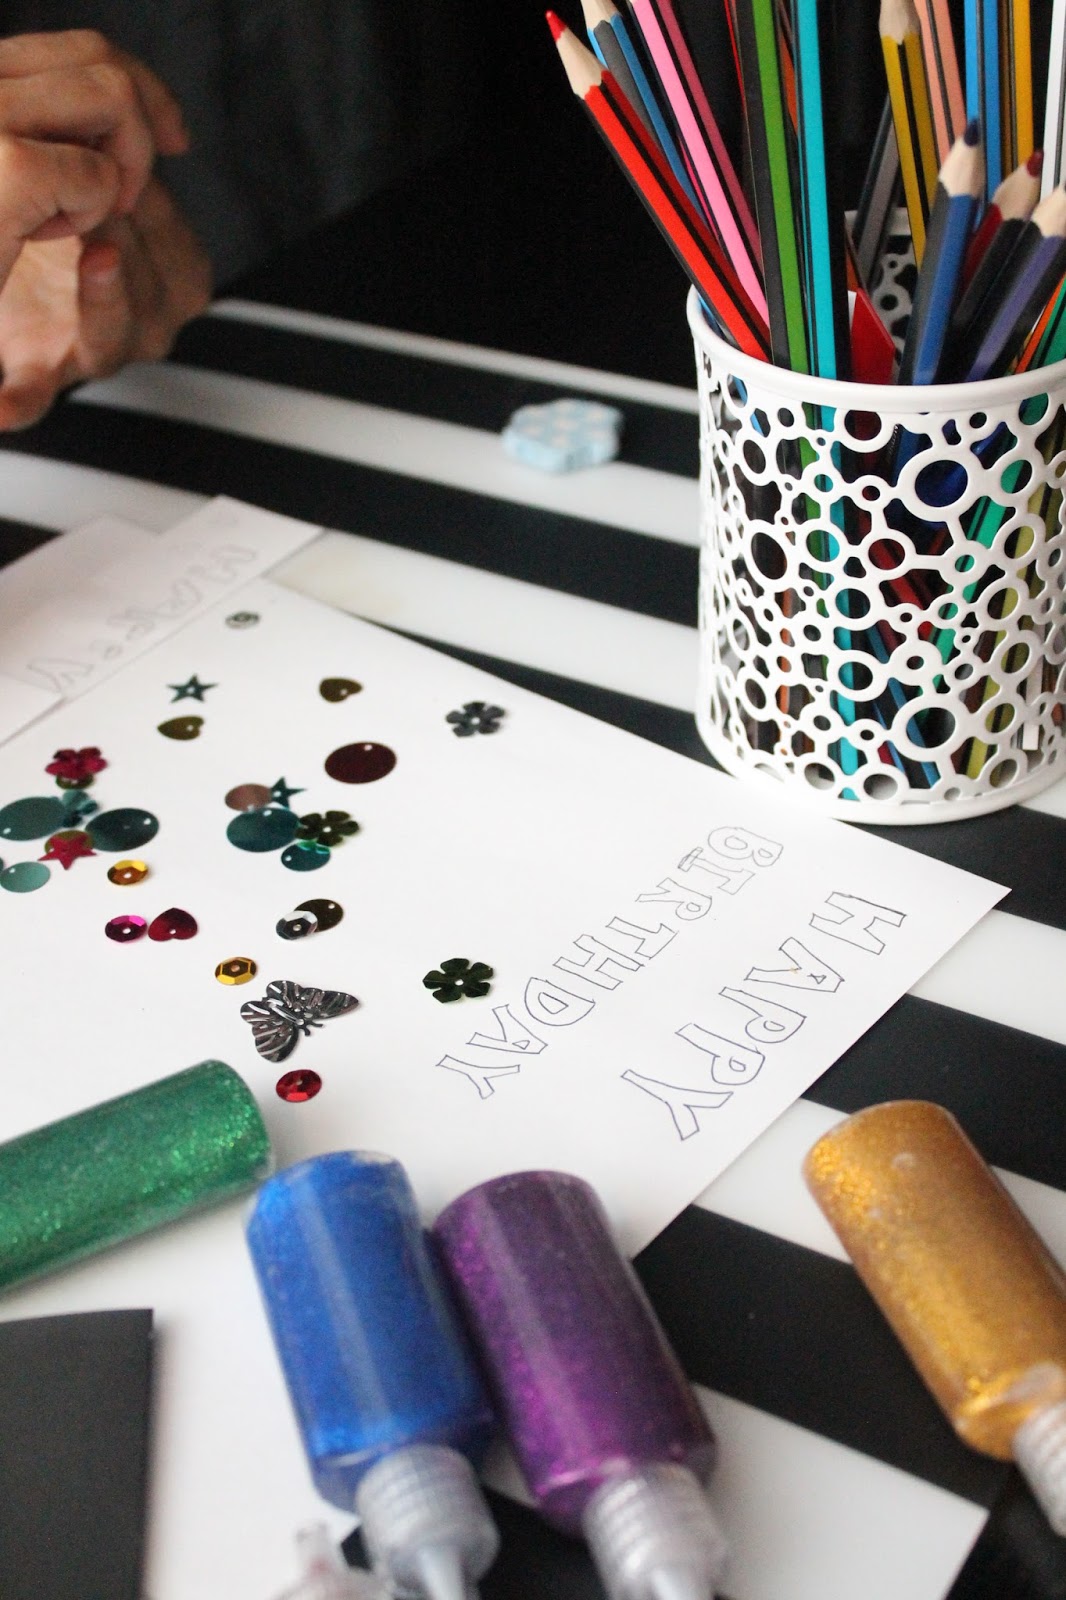
Spring Break is upon us in all its full two-week force. So, what better excuse to pull out the arts and crafts box to keep your little ones busy over the holiday. I always have lots of different types of media for the kids to get creative with and they really enjoy the freedom of choosing/combining water paints, acrylics, pencils, felts, chalk, sequins, feathers, paper, etcetera. L's teacher had a birthday recently and so I ought to publish this post now, instead of letting it languish in my drafts folder.
Cards, whether it's a birthday card or seasonal greeting card, are just the best for kids to get their creative mitts into; it's messy and it's fun. Two very key ingredients right there, for some. So find a clear space at the table or even on the floor, lay down some protective covering if you plan on going a little wild, set the scene with all of the tools and media you'll be using, round up the clan and get sticking.
| We're using paper, card, sequins, glitter glue, feathers and pencils. |
The kids are likely to take off all on their own initiative once they see everything and you'll probably end up taking the back seat as an observant supervisor. L pulled together this card up from its paper foundations and built her own little googly eyed feathered friend. She didn't even want/need my help. I just sat and watched with encouraging "ooohhs" and "aaahhs" - secretly wanting to get involved. I restrained my urges.
Look around the house for reusable items (carrying on the recycling theme a bit from my last post, which you can read here), such as old cartons, egg boxes, toilet roll, plastic lids, old buttons, packaging, bubble wrap, cotton wool... The list is endless! And if you are still stretched thin for ideas, there is always Pinterest. Have a go and capture the imaginative hearts of your kids this holiday.
| 'Cool Mum' badge earned without lifting much of a finger. |
Tuesday, 22 March 2016
The Early Kiss of Spring Calls for Tulips
Seeing as we have only just recently had our first official day of Spring, I realise this post couldn't have been better timed. As the days get a little brighter and the chill in the air begins to slowly fade away - with it - we are greeted by the early blooms of the jolly yellow daffodils and the delicateness of the seasons first tulip blooms.
Not long ago, a dear friend of ours came to visit with her parents and they brought with them bunches of beautiful tulips (red, pink and purple) and, of course, some delicious Romanian treats for the kids. My son immediately went for the 'pufuleti' and the girls beamed with delight at the flowers and wanted to put them into some water straight away. Having placed them gently in the kitchen, I found three slimline vases; definitely not wide enough to fit all of the flowers. And so this is the story of how re-purposing old sauce jars and reusing them as vases became an ingenious way to add a rustic touch of sophisticated elegance to ones home.
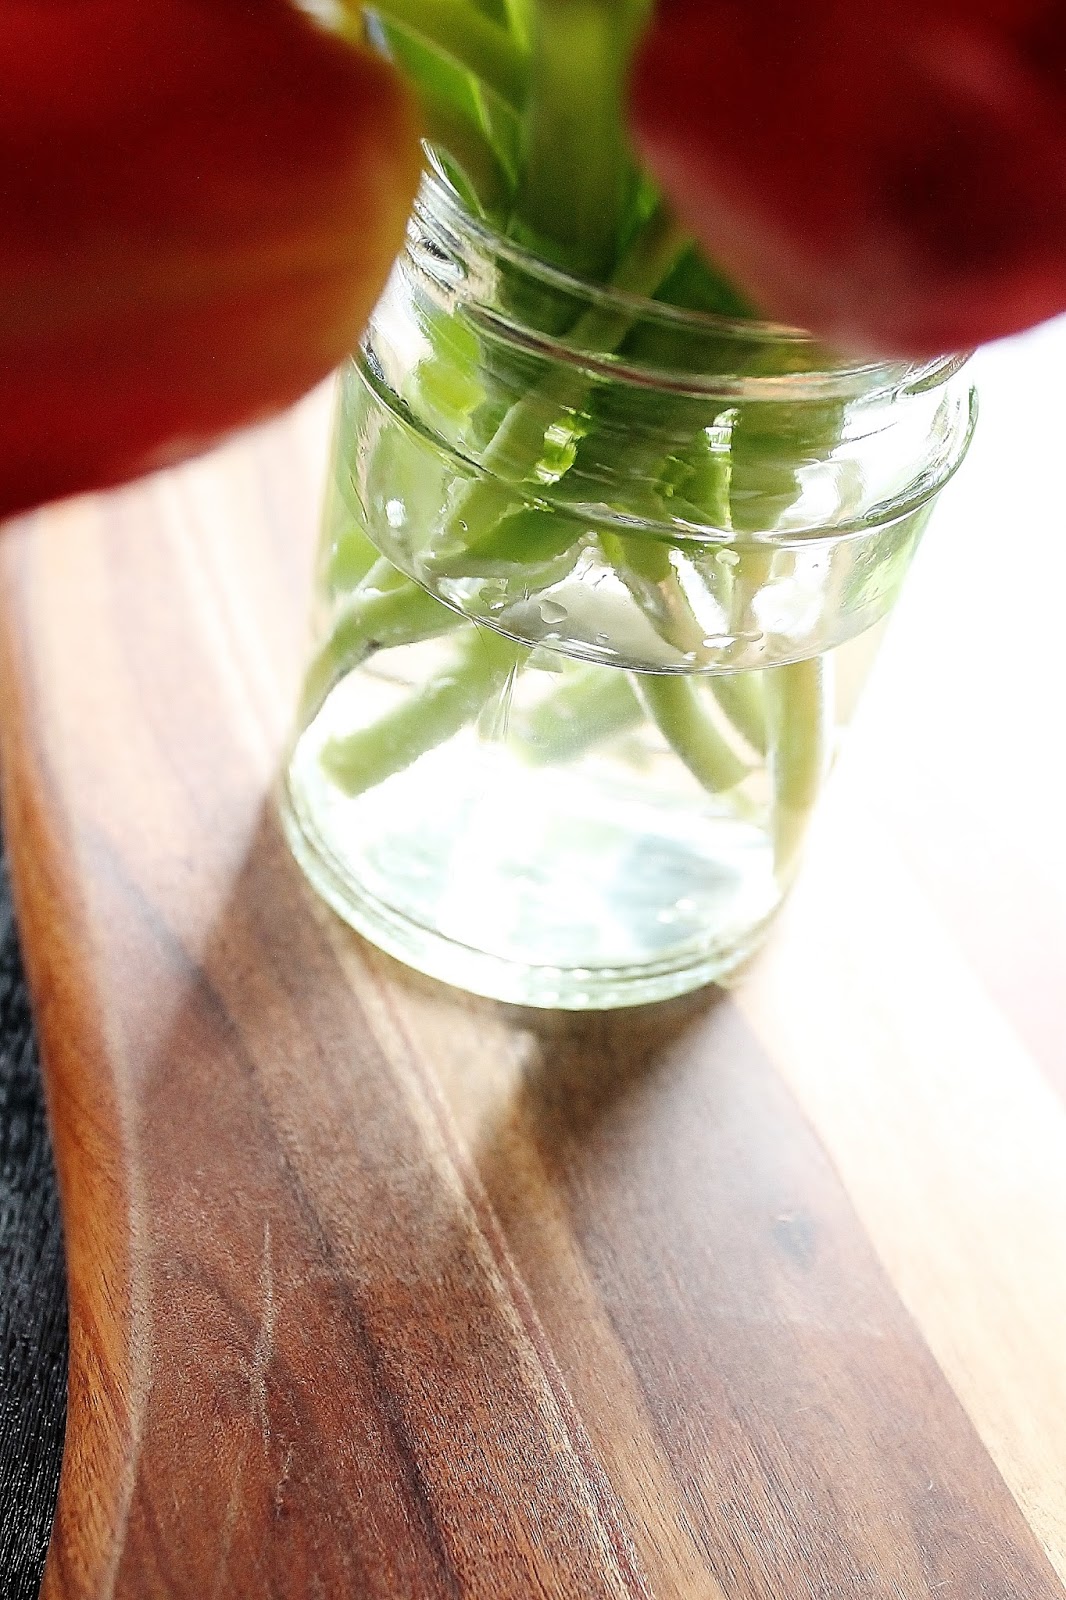
I had a few empty glass sauce jars saved to one corner, which were all ready to be thrown out into our weekly recycling box but what better way to recycle something than to make second use of an item that I was just going to get rid of anyway. I removed the labels, cleaned and washed them out and put them to some crafty good use; if you're someone who likes having cut flowers liven up your living space, then perhaps you might consider this idea. An excellent little tip found via a quick Google search revealed that rubbing some peanut butter will help to remove the stubborn glue left behind from the labels on the jars (be sure to soak jars in warm water first).
| Spring in a jar |
Reusing glass jars is not a new thing; I'm sure it has been done plenty but the only reason the thought occurred to me in the first place was because I came up short on actual vases and so I was forced to think outside the box and make do with what I could find around the house. I am really pleased with my results.
Play around with your floral arrangements and perhaps try displaying them on an unconventionally shaped wooden chopping board. The contrast of the tulips against the grain of the wood will help to create a warm natural look and look beautiful as any centrepiece.
| Try it yourself |
Saturday, 27 February 2016
Sweet Yellow Chicken Curry
I came across this really great recipe by Jamie Oliver over on his website. The recipe was called 'Pukka Yellow Curry'. As it turned out, I had all of the ingredients to hand and figured, why not? And just like that, dinner was sorted. Granted that I never follow a recipe to the letter, I do think that I stuck pretty close to the original... With a few exceptions here and there, of course. I love the sweet warmth this recipe brings and it was a major hit with the kids; I didn't even get any complaints about it being 'chicken, again!'
You will need:
Conservatively serves 5
- 10 Quality chicken drumsticks, skins on
- 1 Tablespoon of coconut oil
- 1/2 A teaspoon of salt
- 2 Yellow bell peppers, one half grated/finely sliced; the remaining, roughly others chopped
- 2 White onions, skins peeled and roughly chopped
- 4 garlic cloves, minced
- 1 Tablespoon of minced ginger
- 60g Fresh coriander, leaves and stems (save a few of the leaves for garnishing)
- 1 Teaspoon of turmeric
- 1 Tablespoon of medium curry powder
- 1 Chicken stock cube
- 1 Tablespoon of runny honey
- 1 Teaspoon of tomato puree
- 1 400g can of chickpeas, water drained
- A pinch of black pepper
- 500ml of hot water
- Some plain natural yoghurt for serving, optional
How To:
2. Heat the coconut oil in a large wok and brown the chicken, seasoning with some salt and a pinch of black pepper. Using some tongs, remove the chicken from the wok and let it rest aside on a plate.
3. Add the grated yellow peppers, half of the onions, minced garlic, ginger, finely chopped coriander stems to the juices left in the wok and cook for 5 minutes. Then add in the curry powder, turmeric, tomato puree, chicken stock cube, runny honey and chickpeas. Stir continuously on the heat until you have an even mixture. Add in the rest of the yellow peppers, onions and hot water. Bring to the boil.
4. Add the remaining yellow peppers and onions to the wok and stir. Now, lay your chicken in the wok and give it another good stir, spooning all of the ingredients over the drumsticks. Arrange the chicken so that the pieces fan outward.
5. Lower the heat and simmer for 40 minutes or until the chicken is tender and the liquids have reduced to a nice, rich and thickened consistency. Scatter the last of the coriander leaves and quickly spoon some yoghurt (in a circular motion) over the curry and you're good to go.
Your 'Sweet Yellow Chicken Curry' is now ready to be plated up or you can can bring it to the table and impress your guests by allowing them to self serve.
We are serving our curry with some white fluffy Basmati rice. Or, for something a little more fragrant, why not try my 'Flavourful Basmati Rice' recipe, which you can find here.
Labels:
chicken,
curry,
Food,
Indian cuisine,
Jamie Oliver,
Recipes
Friday, 19 February 2016
Zing-Tastic Baked Chicken Thighs & Mushrooms
I just L.O.V.E quick and easy-to-make recipes! Especially when I'm pushed for time and there are hungry mouths to feed. Well, these zesty chicken thighs are just the the ticket. I know, you're probably thinking 'not another chicken recipe,' right? I can assure you, we don't eat chicken everyday. In fact, we don't even eat all that much meat these days and certainly not on a daily basis. However, chicken -- along with fish -- does seem to be our meat of choice (over things like beef, lamb and pork). I will certainly be posting more vegetarian/vegan friendly articles in the near future especially given the fact that we are becoming far more conscientious of animal welfare/cruelty as a family.
For 9 servings, you will need:
- 9 Quality chicken thighs (skins on and bones in)
- 10 fresh white mushrooms, halved (do not remove the outer skins, simply wipe away any dirt using a kitchen towel)
- 5 Cloves of garlic (skins on)
- 5 Sprigs of fresh thyme
- 1 Whole lemon (sliced lengthways into 8 wedges)
- 1-2 Large ripe tomatoes (cut into 8 wedges)
- 1 Level teaspoon of ground black pepper
- 1 Level teaspoon of salt
- Varying amounts of boiled water from the kettle
How To:
1. Begin by preparing all of your ingredients to save time. Then heat a large wok on a medium- high heat. Lay the chicken thighs skin side down in the wok. Using a skillet/spatula, apply pressure to the thighs by pressing them down. This should help to release the oils from the skin relatively quickly. This will be the only oil you use in this recipe.
2. Add some boiled water from the kettle and let it sizzle for 1 minute. Then quickly throw in your garlic and 2 sprigs of thyme. Sprinkle over the salt and black pepper. Now give the wok a good shake to get the ingredients coated all over the chicken. Add more water as necessary (making sure not to let the wok cook dry) and keep the heat high. Cook skin-down for 5-7 minutes and then turn the thighs, repeating the same procedure. Remember to add hot water incrementally and as needed.
3. Preheat the oven to 250 degrees Celsius.
4. Remove from the heat and transfer the chicken into a large baking tray (skin side up), retaining the juices in the wok. Leave the chicken to rest. Bring your attention back to the wok. Remember those mushrooms? This is where they come in; add them to the wok and cook for 5 minutes in the chicken juices but do not let the wok run dry. Add in the last 3 sprigs of thyme and give everything a good stir.
5. Add the mushroom and any juices into the tray with the chicken arranging everything neatly flat and side-by-side. Add the tomatoes and lemon wedges to the tray and bake in the oven (reduce heat to 200 degrees Celsius) for 30 minutes or until cooked.
Your main dish is ready to be plated or served family-style at the dinner table. Why not try serving alongside some baked baby potatoes and crunchy chunks of bell peppers sautéed in a splash of white wine vinegar and soy sauce.
Subscribe to:
Posts (Atom)